

404
Oops! We can't seem to find that page.
The link you followed may be broken, or the page may have been removed or renamed.
Here are some helpful links to get you back on track:
- → Return to the Homepage
- → Search the site for exactly what you need
- → Check out our Beginner's RC Flying Guide
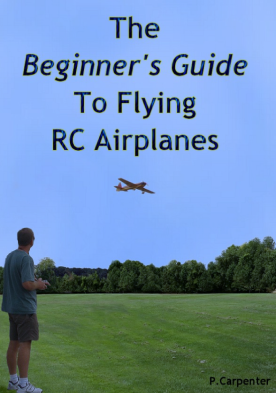
All of this and much more is covered in our Beginner’s Guide 👇
The Beginner’s Guide To Flying RC Airplanes is a 139-page, easy-to-read e-book written for complete newcomers. It explains exactly what to buy, where to fly, and how to avoid costly mistakes.
📖 Start reading now